利用百度api实现人像动漫化

百度API地址:https://ai.baidu.com/tech/imageprocess/selfie_anime
技术文档:https://ai.baidu.com/ai-doc/IMAGEPROCESS/Mk4i6olx5
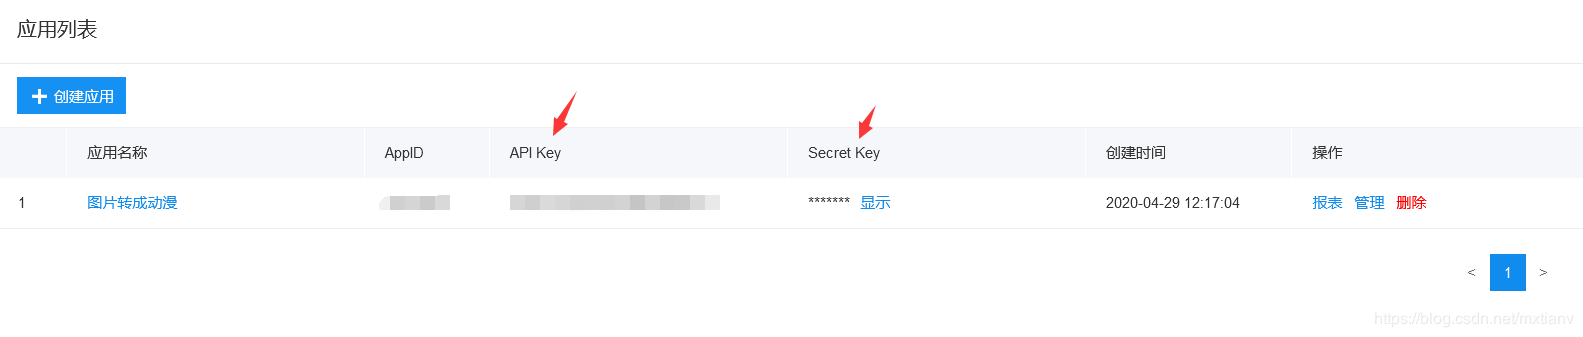
注册百度账号,开通实现人像动漫化,创建应用。
# encoding:utf-8

import requests
import base64

# client_id 为官网获取的AK, client_secret 为官网获取的SK
host = \'https://aip.baidubce.com/oauth/2.0/token?grant_type=client_credentials&client_id=【官网获取的AK】&client_secret=【官网获取的SK】\'
response = requests.get(host)
if response:
  access_token= response.json()[\"access_token\"]
将上面的【官网获取的AK】【官网获取的SK】\’ 替换成自己的API Key 和 Secret Key
\'\'\'
人像动漫化
\'\'\'
request_url = \"https://aip.baidubce.com/rest/2.0/image-process/v1/selfie_anime\"
# 二进制方式打开需要处理图片文件
f = open(\'001.jpg\', \'rb\') # 打开需要处理的图片
img = base64.b64encode(f.read())

params = {\"image\":img}
request_url = request_url + \"?access_token=\" + access_token
headers = {\'content-type\': \'application/x-www-form-urlencoded\'}
response = requests.post(request_url, data=params, headers=headers)
print(response)
if response:
  # 保存文件
  f = open(\'t.jpg\', \'wb\')
  img = (response.json()[\'image\'])
  f.write(base64.b64decode(img))
  f.close()
到此这篇关于python实现人像动漫化的示例代码的文章就介绍到这了,更多相关python 人像动漫化内容请搜索自学编程网以前的文章或继续浏览下面的相关文章希望大家以后多多支持自学编程网!