前言:
脚本中包含以下几点常用功能:
(1)实时获取当前时间
(2)while循环提交
(3)上传图片文件
一、上述功能解释:
(1)实时获取当前时间,下面展示三种格式化后的日期代码示例
#!/usr/bin/python
# -*- coding: UTF-8 -*-

import time

# 格式化成2016-03-20 11:45:39形式
print time.strftime(\"%Y-%m-%d %H:%M:%S\", time.localtime())

# 格式化成Sat Mar 28 22:24:24 2016形式
print time.strftime(\"%a %b %d %H:%M:%S %Y\", time.localtime())

# 将格式字符串转换为时间戳
a = \"Sat Mar 28 22:24:24 2016\"
print time.mktime(time.strptime(a,\"%a %b %d %H:%M:%S %Y\"))
以上实例输出结果:
2016-04-07 10:25:09
Thu Apr 07 10:25:09 2016
1459175064.0
详情查看菜鸟教程,https://www.runoob.com/python/python-date-time.html
(2)while循环提交
其基本形式为:
while 判断条件(condition):
 执行语句(statements)……
具体查看菜鸟教程,https://www.runoob.com/python/python-while-loop.html
(3)上传图片文件
filexxxx ={
	\"filexxxxxxxx\":open(\'xxx.jpg\',\'rb\')#文件内容根据实际路径修改
}
具体查看 https://www.jb51.net/article/198278.htm
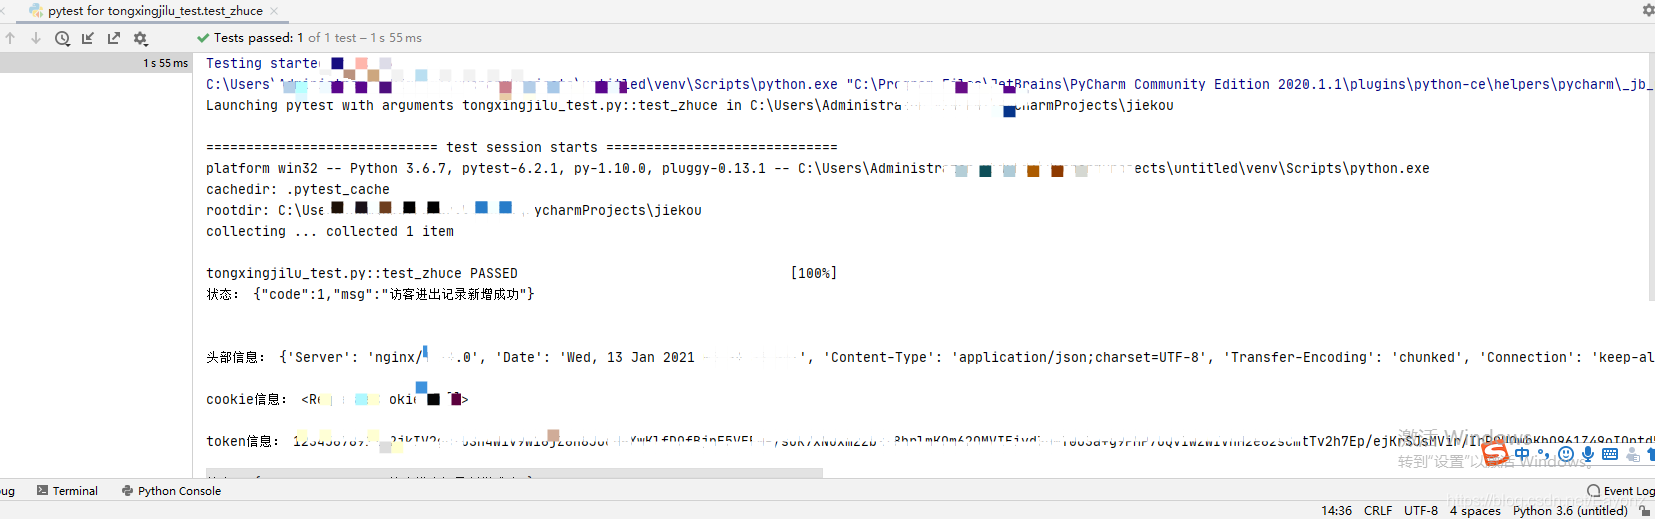
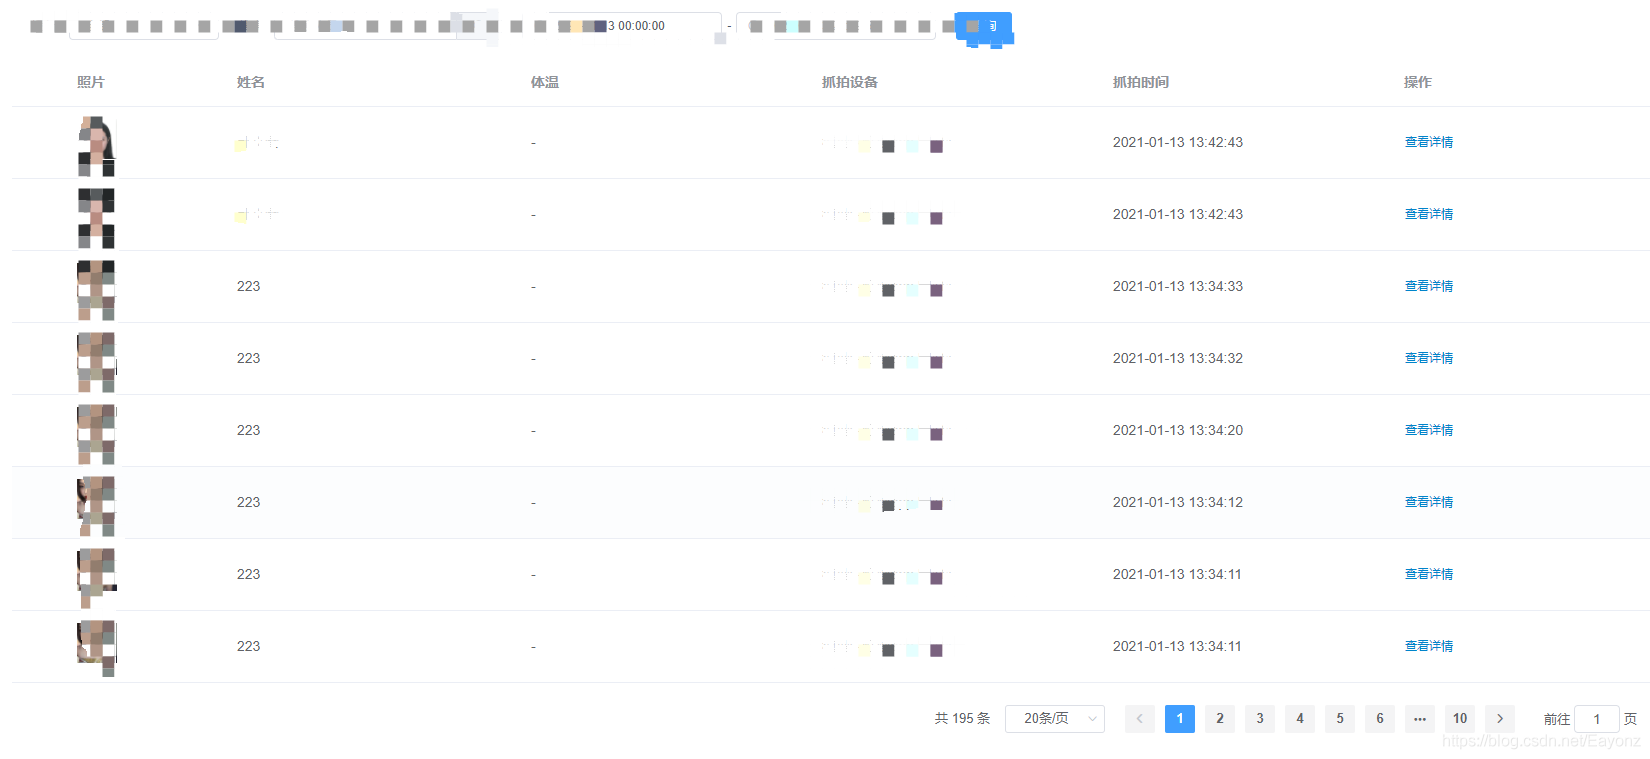
二、预期结果示例
三、完整脚本示例:
注意:脚本中含有多余的无关代码信息,我写在这里只是自我记录
修改userId,mac即可对应上传不同人员、不同设备的通行记录
import random
import time
import requests
def test_zhuce():
 i=1
 while i<1000:

 url=\"http://xx.xx.cn:8888/xxxx/robot/uploadVisitorOutIn\"
 url1 = \"https://xxxx.xxxx/xxx/app/2.1.0/token/signxxx\"
 r1=requests.post(url1)
 t = r1.json()[\"token\"]
 b=random.randint(1,100000)
 date = {
  # \"name\": \"接口注册%d\" % b,
  \"userId\": \"8d92402b9f859d\",
  \"userType\" : 5,
  \"operateType\": 1,
  # \"msToken\": t,
  #实时获取时间信息
  \"time\": time.strftime(\"%Y-%m-%d %H:%M:%S\", time.localtime()),
  \"mac\": \"qwertyuioo\",
  \"ageType\":0,
  \"emotionType\":0,
  \"genderType\":0,
  \"stranger\":\"false\",
  \"openWay\":0,
  \"temperature\":0.0
 }
 #上传图片,open(\'1610507254344.png\',\'rb\')中的1610507254344.png文件是放在了项目内,如果不在项目内,需要添加对应的文件路径
 files={
  \"picFile\":open(\'1610507254344.png\',\'rb\'),
 }
 r = requests.post(url, data=date,files=files)
 print(\'\\n\'\"状态:\",r.text)
 print(\'\\n\'\"头部信息:\",r.headers)
 print(\'\\n\'\"cookie信息:\",r.cookies)
 print(\'\\n\'\"token信息:\",t)
 i+=1
 # assert r.status_code == 200
到此这篇关于利用python+request通过接口实现人员通行记录上传功能的文章就介绍到这了,更多相关python request实现人员通行记录上传内容请搜索自学编程网以前的文章或继续浏览下面的相关文章希望大家以后多多支持自学编程网!