1、代码
from aip import AipFace
import cv2
import time
import base64
from PIL import Image
from io import BytesIO
import pyttsx3
# \"\"\" 你的 APPID AK SK \"\"\"
APP_ID = \'1965####\'
API_KEY = \'YXL65ekIloykyjrT4kzc####\'
SECRET_KEY = \'lFiapBoZ5eBwOFyxMbiwQDmClg1u####\'

client = AipFace(APP_ID, API_KEY, SECRET_KEY)

# def frame2base64(frame):
#   img = Image.fromarray(frame) #将每一帧转为Image
#   output_buffer = BytesIO() #创建一个BytesIO
#   img.save(output_buffer, format=\'JPEG\') #写入output_buffer
#   byte_data = output_buffer.getvalue() #在内存中读取
#   image = base64.b64encode(byte_data) #转为BASE64
#   return image #转码成功 返回base64编码

def generate():
  camera = cv2.VideoCapture(0)
  engine = pyttsx3.init()
  try:
    while True:
      engine = pyttsx3.init()
      ret, img = camera.read()
      cv2.imwrite(\"E://Ana/face.png\",img)
      cv2.imshow(\"调用摄像头\", img)
      imageType = \"BASE64\"
      groupIdList = \"1,2,3,4\"


      \"\"\" 如果有可选参数 \"\"\"
      options = {}
      options[\"max_face_num\"] = 4
      options[\"match_threshold\"] = 70
      options[\"quality_control\"] = \"NORMAL\"
      options[\"liveness_control\"] = \"NONE\"
      # options[\"user_id\"] = \"233451\"
      options[\"max_user_num\"] = 4

#       \"\"\" 带参数调用人脸搜索 \"\"\"
      with open(\"E://Ana/face.png\", \'rb\') as fp:
        imageB = base64.b64encode(fp.read())
      image = str(imageB, \'utf-8\')
      \"\"\" 调用人脸搜索 \"\"\"
      result = client.search(image, imageType, groupIdList, options)
      engine.runAndWait()
      print(2)
      if result:
        if not result[\'result\']:
          continue
        name = result[\'result\'][\'user_list\'][0][\'user_id\']#获取名字
        score = result[\'result\'][\'user_list\'][0][\'score\']#获取相似度
        if name == \'cgh_1\':
          if score>80:
            print(score)
            print(name)
            engine.say(\"华来了\")
        elif name == \'yjc_1\':
          if score > 80:
            print(score)
            print(name)
            engine.say(\"杨来了\")
        elif name == \'cjy_1\':
          if score > 80:
            print(score)
            print(name)
            engine.say(\"言来了\")
        elif name == \'hjy_1\':
          if score > 80:
            print(score)
            print(name)
            engine.say(\"怡来了\")
        else:
          print(\"匹配失败\")
      else:
        continue
  except Exception as e:
    print(e)
  finally:
    # 释放资源
    engine.runAndWait()
    camera.release()
    cv2.destroyAllWindows()

generate()
2、实现步骤
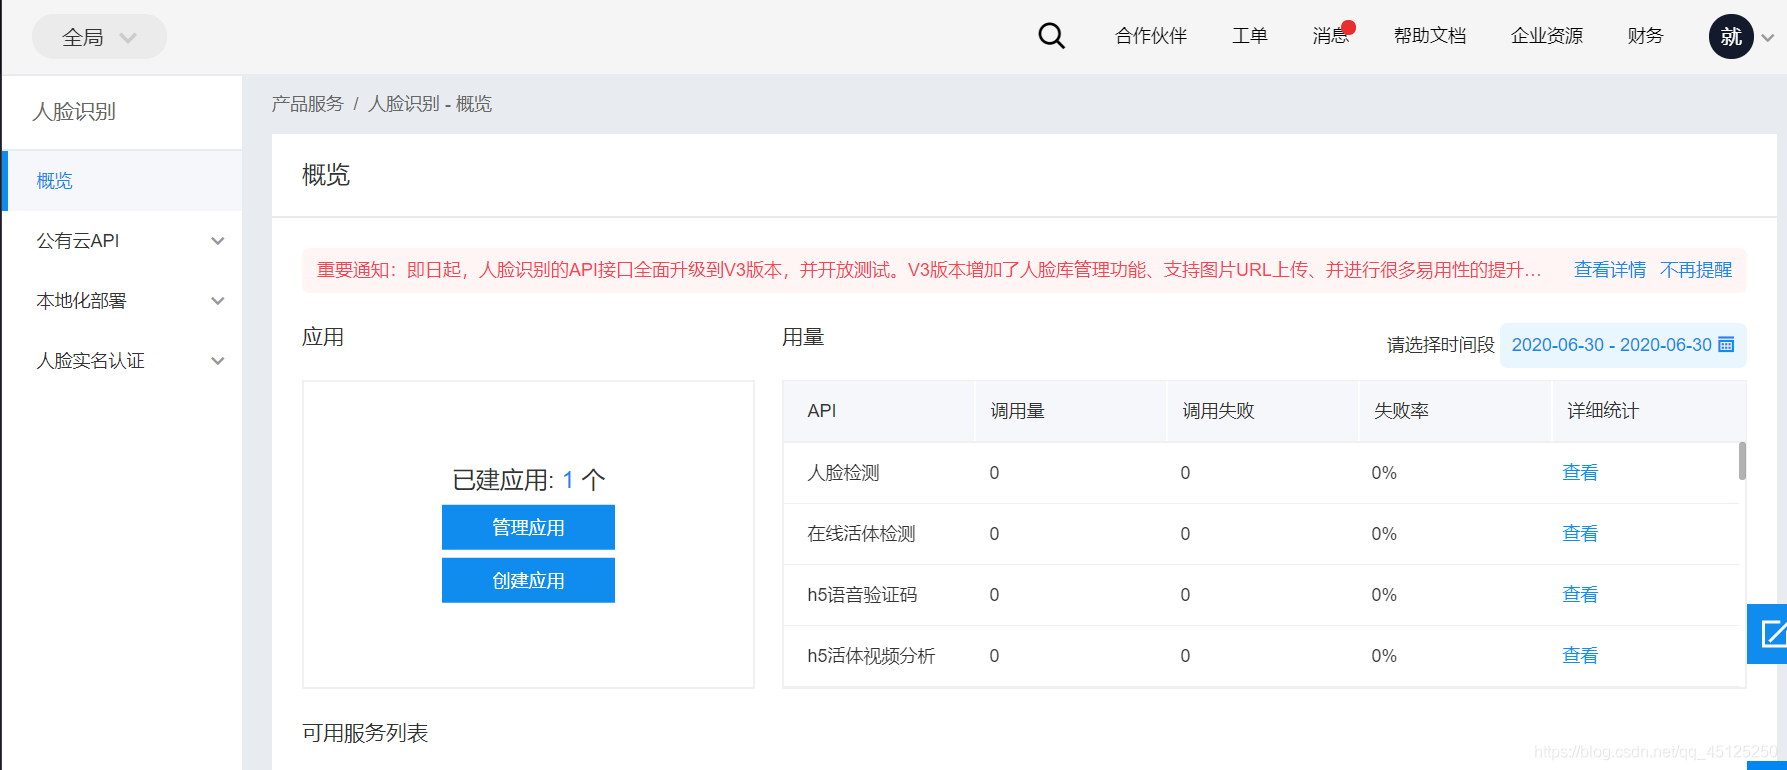
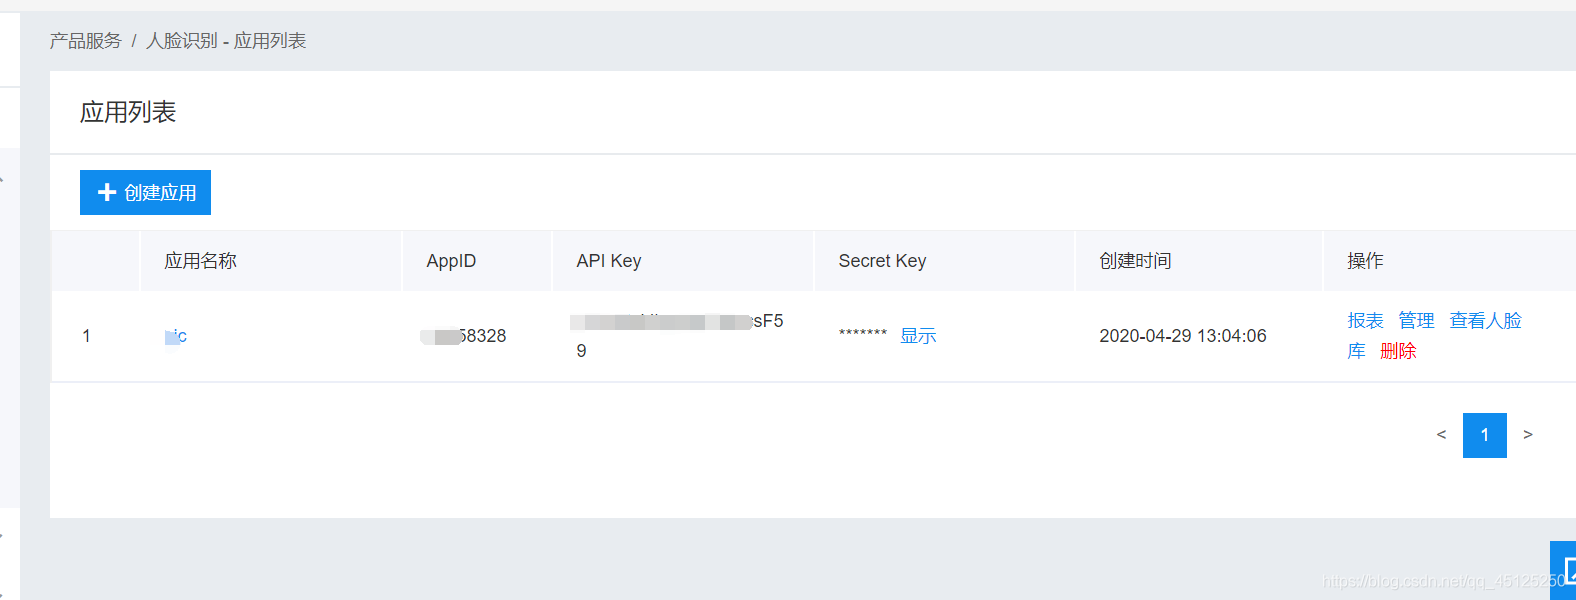
2.1、获取百度ID和key
在百度API中可以申请到免费的API账号,每天有免费的几千次人脸识别,下图为我申请的API账号,然后在人脸库中创建需要识别的人脸就行了
2.2、创建客户端
APP_ID = \'1965####\'
API_KEY = \'YXL65ekIloykyjrT4kzc####\'
SECRET_KEY = \'lFiapBoZ5eBwOFyxMbiwQDmClg1u####\'
client = AipFace(APP_ID, API_KEY, SECRET_KEY)
2.3、实现人脸识别
主要内容就是参数需要自己修改,然后获取视频图像,然后通过对比看一下,对比出来的名字,然后再看一下分数即可,我在里面加了一个电脑播报的,所以只要识别出来,电脑就会播报,延迟不超过以秒。
到此这篇关于python调用百度API实现人脸识别的文章就介绍到这了,更多相关python 人脸识别内容请搜索自学编程网以前的文章或继续浏览下面的相关文章希望大家以后多多支持自学编程网!