本文实例为大家分享了vue实现表单录入的具体代码,供大家参考,具体内容如下
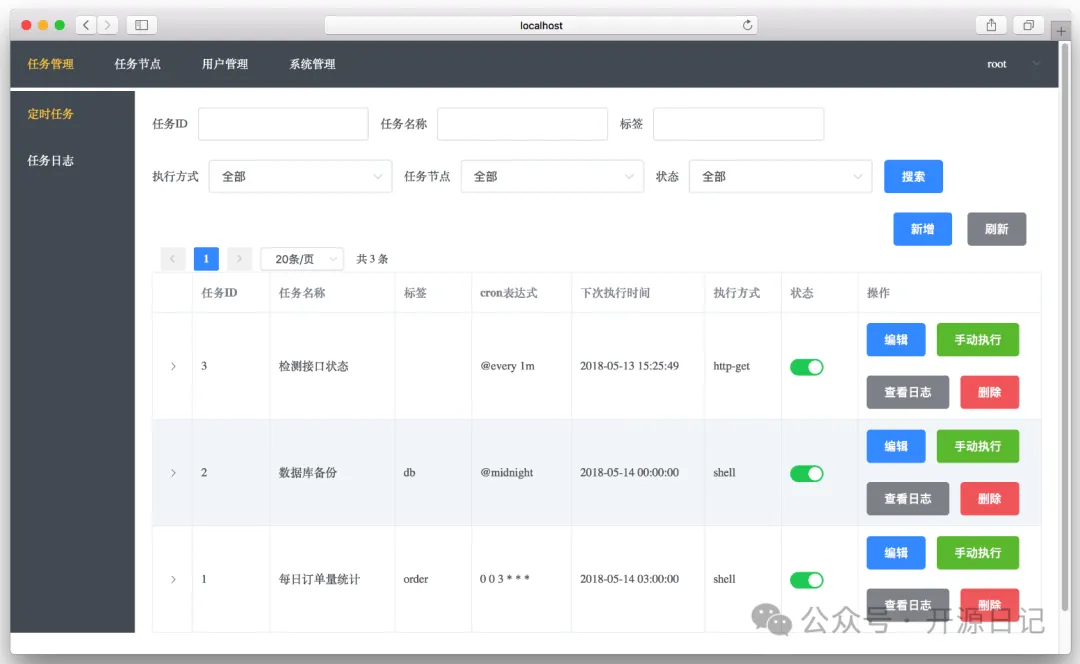
最终效果:

代码:
<template>
 <div id=\"app\">
 <!--第一部分-->
 <fieldset>
  <legend>学生录入系统</legend>
  <div>
  <span>姓名:</span>
  <input type=\"text\" placeholder=\"请输入姓名\" v-model=\"newStudent.name\">
  </div>
  <div>
  <span>年龄:</span>
  <input type=\"text\" placeholder=\"请输入年龄\" v-model=\"newStudent.age\">
  </div>
  <div>
  <span>性别:</span>
  <select v-model=\"newStudent.sex\">
   <option value=\"男\">男</option>
   <option value=\"女\">女</option>
  </select>
  </div>
  <div>
  <span>手机:</span>
  <input type=\"text\" placeholder=\"请输入手机号码\" v-model=\"newStudent.phone\">
  </div>
  <button @click=\"createNewStudent()\">创建新用户</button>
 </fieldset>
 <!--第二部分-->
 <table>
  <thead>
  <tr>
  <td>姓名</td>
  <td>性别</td>
  <td>年龄</td>
  <td>手机</td>
  <td>删除</td>
  </tr>
  </thead>
  <tbody>
  <tr v-for=\"(p, index) in persons\">
  <td>{{p.name}}</td>
  <td>{{p.sex}}</td>
  <td>{{p.age}}</td>
  <td>{{p.phone}}</td>
  <td>
   <button @click=\"deleteStudentMsg(index)\">删除</button>
  </td>
  </tr>
  </tbody>
 </table>
 </div>
</template>

<script>
 export default {
  name: \"todolist2\",
  data(){
   return{
   persons: [
    {name: \'张三\', age: 20, sex: \'男\', phone: \'18932323232\'},
    {name: \'李四\', age: 30, sex: \'男\', phone: \'18921212122\'},
    {name: \'王五\', age: 20, sex: \'男\', phone: \'18932223232\'},
    {name: \'赵六\', age: 25, sex: \'女\', phone: \'18932322232\'},
   ],
   newStudent: {name: \'\', age: 0, sex: \'男\', phone: \'\'}
   }
  },
  methods: {
  // 创建一条新纪录
  createNewStudent(){
   // 姓名不能为空
   if(this.newStudent.name === \'\'){
   alert(\'姓名不能为空\');
   return;
   }

   // 年龄不能小于0
   if(this.newStudent.age <= 0){
   alert(\'请输入正确的年龄\');
   return;
   }

   // 手机号码
   if(this.newStudent.phone === \'\'){
   alert(\'手机号码不正确\');
   return;
   }

   // 往数组中添加一条新纪录
   this.persons.unshift(this.newStudent);
   // 清空数据
   this.newStudent = {name: \'\', age: 0, sex: \'男\', phone: \'\'}
  },

  // 删除一条学生纪录
  deleteStudentMsg(index){
   this.persons.splice(index,1);
  }
  },
 }
</script>

<style scoped>
 #app{
 margin: 50px auto;
 width: 600px;
 }

 fieldset{
 border: 1px solid orangered;
 margin-bottom: 20px;
 }

 fieldset input{
 width: 200px;
 height: 30px;
 margin: 10px 0;
 }

 table{
 width: 600px;
 border: 2px solid orangered;
 text-align: center;
 }

 thead{
 background-color: orangered;
 }
</style>
以上就是本文的全部内容,希望对大家的学习有所帮助,也希望大家多多支持。
© 版权声明
THE END


暂无评论内容