本文实例为大家分享了layui添加动态菜单与选项卡的具体代码,供大家参考,具体内容如下
HTML
<!DOCTYPE html>
<html>
 <head>
 <meta charset=\"utf-8\">
 <meta name=\"viewport\" content=\"width=device-width, initial-scale=1, maximum-scale=1\">
 <title>Layui</title>
 <link rel=\"stylesheet\" href=\"js/css/layui.css\" media=\"all\">
 </head>
 <body>
 <div class=\"layui-side layui-bg-black\">
 <div class=\"layui-side-scroll\">
 <!-- 左侧导航区域(可配合layui已有的垂直导航) -->
 <ul class=\"layui-nav layui-nav-tree\" lay-filter=\"test\" id=\"memus\"></ul>
 </div>
 </div>
 <div class=\"layui-body\">
 <!-- 动态选项卡 -->
 <div id=\"tabzu\" class=\"layui-tab layui-tab-card layui-tab-brief\" lay-filter=\"tabDemo\" lay-allowclose=\"true\">
 <ul class=\"layui-tab-title\"></ul>
 <div class=\"layui-tab-content\"></div>
 </div>
 </div>
 <script src=\"js/layui.all.js\" charset=\"utf-8\"></script>
 <script type=\"text/javascript\" src=\"js/index.js\" ></script>
 </body>

</html>
index.js
layui.use(\'element\', function() {
 function checkLastItem(arr, i) {
 return arr.length == (i + 1);
 }

 function getAhtml(obj){
 return \"<a href=\\\"javascript:;\\\" οnclick=\\\"addTab(\'\" + obj.name + \"\',\'\" + obj.url + \"\')\\\" >\" + obj.name + \"</a>\";
 }
 //动态菜单
 layui.jquery.ajax({
 url: \"http://127.0.0.1:18000/sys/menus\",
 method: \'POST\',
 success: function(res) {
 var html = \"\";
 for(var i = 0; i < res.length; i++) {
 var strli = \"<li class=\\\"layui-nav-item lay-unselect \\\" >\";
 if (res[i].url ==\'#\'){
 strli = strli + \"<a href=\\\"javascript:;\\\">\" + res[i].name + \"</a>\";
 console.log(res[i].name)
 }else{
 strli = strli + getAhtml(res[i]);
 }
 if(res[i].pId == \"0\" && !checkLastItem(res, i) && res[i + 1].pId != \"0\") {
 strli = strli + \"<dl class=\\\"layui-nav-child\\\" >\";
 for(; !checkLastItem(res, i) && res[i + 1].pId != \"0\"; i++) {
 strli = strli + \"<dd>\"+getAhtml(res[i+1])+\"</dd>\";
 }
 strli = strli + \"</dl>\";
 }
 strli = strli + \"</li>\";
 html = html + strli;
 }
 layui.jquery(\"#memus\").html(html);
 layui.element.init(); //一定初始化一次
 }
 })
});

//添加选项卡
function addTab(name, url) {
 if(layui.jquery(\".layui-tab-title li[lay-id=\'\" + name + \"\']\").length > 0) {
 //选项卡已经存在
 layui.element.tabChange(\'tabDemo\', name);
 layer.msg(\'切换-\' + name)
 } else {
 //动态控制iframe高度
 var tabheight = layui.jquery(window).height() - 95;
 contentTxt = \'<iframe src=\"\' + url + \'\" scrolling=\"no\" width=\"100%\" height=\"\' + (tabheight) + \'PX\"></iframe>\';
 //新增一个Tab项
 layui.element.tabAdd(\'tabDemo\', {
 title: name,
 content: contentTxt,
 id: name
 })
 //切换刷新
 layui.element.tabChange(\'tabDemo\', name)
 layer.msg(\'新增-\' + name)
 }
}
菜单JSON
[
 {
 \"name\": \"首页\",
 \"url\": \"shouye.html\",
 \"id\": \"1\",
 \"pId\": \"0\"
 },
 {
 \"name\": \"数据库\",
 \"url\": \"#\",
 \"id\": \"1\",
 \"pId\": \"0\"
 },
 {
 \"name\": \"MYSQL\",
 \"url\": \"mysql.html\",
 \"id\": \"2\",
 \"pId\": \"1\"
 },
 {
 \"name\": \"ORACLE\",
 \"url\": \"oracle.html\",
 \"id\": \"3\",
 \"pId\": \"1\"
 },
 {
 \"name\": \"开发语言\",
 \"url\": \"#\",
 \"id\": \"4\",
 \"pId\": \"0\"
 },
 {
 \"name\": \"JAVA\",
 \"url\": \"java.html\",
 \"id\": \"5\",
 \"pId\": \"4\"
 },
 {
 \"name\": \"Python\",
 \"url\": \"python.html\",
 \"id\": \"6\",
 \"pId\": \"4\"
 }
]
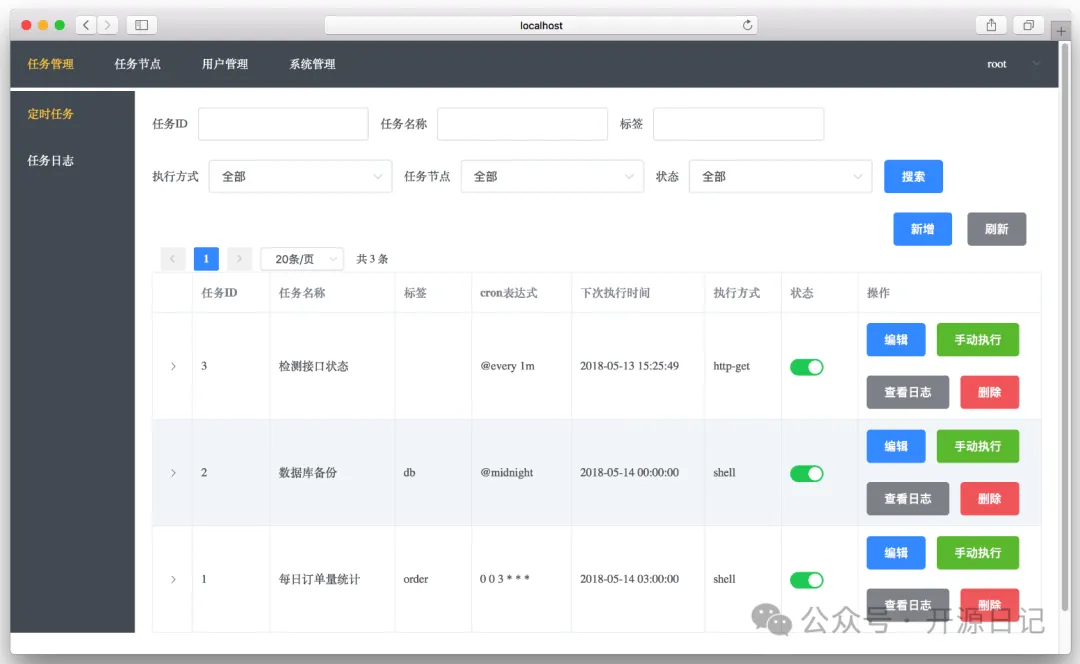
效果截图:

如果大家还想深入学习,可以点击两个精彩的专题:javascript选项卡操作方法汇总 jquery选项卡操作方法汇总
以上就是本文的全部内容,希望对大家的学习有所帮助,也希望大家多多支持。
© 版权声明
THE END


暂无评论内容