本文实例为大家分享了Vue.js实现备忘录的具体代码,供大家参考,具体内容如下
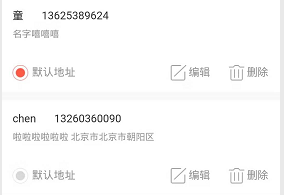
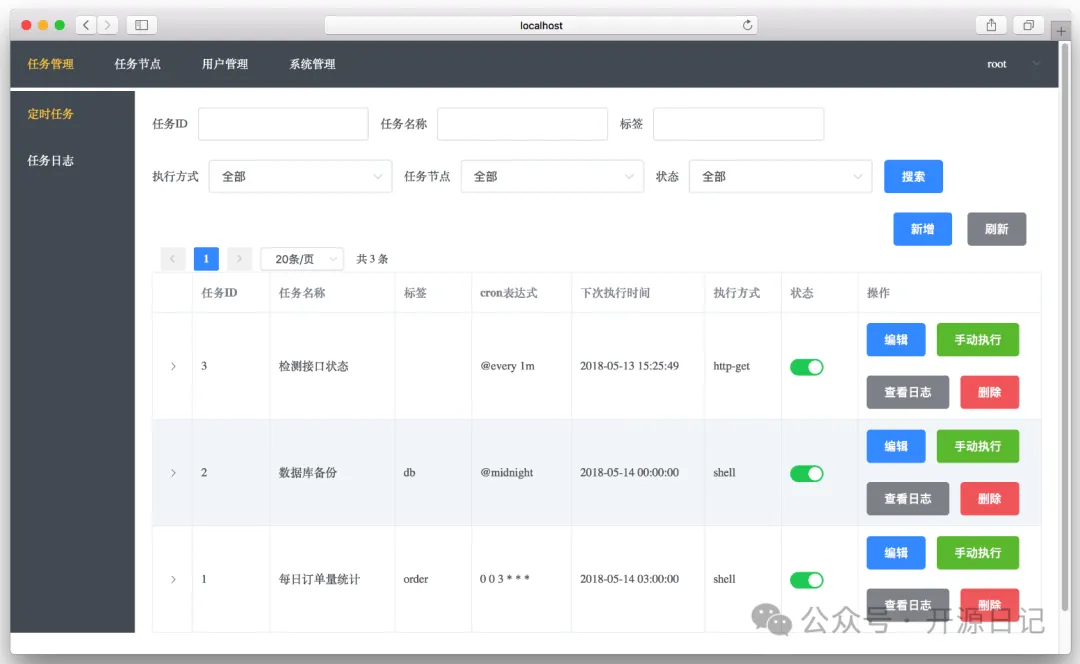
效果展示:

html代码:
<!DOCTYPE html>
<html>
 <head>
 <meta charset=\"utf-8\">
 <!-- 移动设备设置 -->
 <meta name=\"viewport\" content=\"width=device-width,initial-scale=1,minimum-scale=1,maximum-scale=1,user-scalable=no\">
 <title>记事本</title>
 <link rel=\"stylesheet\" type=\"text/css\" href=\"css/noteUI.css\" >
 <!-- vue核心框架 -->
 <script src=\"vue/vue.js\" type=\"text/javascript\" charset=\"UTF-8\"></script>
 <script src=\"vue/vue-resource.min.js\" type=\"text/javascript\" charset=\"UTF-8\"></script>
 </head>
 <body>

 <div id=\"app\">
 <!-- 一般用于头部 -->
 <header>
 <h1>备忘录<span class=\"right\">{{now}}</span></h1>
 </header>
 <section>
 <!-- 多行文本 -->
 <!-- 视图传数据 -->
 <!-- v-model=\"diary\"双向数据绑定 -->
 <textarea v-model=\"diary\" style=\"width: 100%;height: 200px;\" placeholder=\"写日记是一个好习惯\">
 </textarea>
 <!-- @click=\'finished\'绑定methods属性中的方法 -->
 <button @click=\"finished\" class=\"finish\">完成</button>
 </section>
 <ul>
 <!-- 循环遍历data中的noteooks属性B,每次循环都赋值给nb -->
 <!-- v-for=\"(数组值,数组下标) in noteBooks\"-->
 <li v-for=\"(nb,i) in noteBooks\">
  <!--nb.txt类似对象访问-->
  <!-- v-html=\"nb.txt\"绑定html代码 -->
  <p v-html=\"nb.txt\">写日记是一个好习惯</p>
  <div class=\"btn_ground\">
  <button @click=\"del\" type=\"button\" class=\"del left\">删除</button>
  <!-- v-text=\"nb.time\" 绑定文本等价于 {{nb.time}}-->
  <span class=\"time\" v-text=\"nb.time\"></span>
  <button @click=\"upDate(i)\" type=\"button\" class=\"update right\">修改</button>
  </div>
 </li>
 </ul>
 </div>
 <footer>
 版权所有 zk
 </footer>
 <script src=\"noteBook.js\" type=\"text/javascript\" charset=\"UTF-8\"></script>

 </body>
</html>
CSS代码:
*{
 margin: 0;
 padding:0;
}
header,#app,footer{
 margin:0 8px;
}
header h1{
 color: #FF4500;
 font-weight: normal;
 font-size: 24px;
 padding-top: 10px;
 padding-bottom: 4px;
 border-bottom: 1px solid #ccc;
 margin-bottom: 4px;
}

#app textarea{
 width: 100%;
 height: 200px;
 border: none;
 border-bottom: 1px solid #ccc;
 padding: 8px 4px;
}
button{
 padding: 4px;
 background-color: #fff;
 border: 1px solid #ccc;
 border-radius: 4px;
}
/* position: relative;没有脱离正常流 */
/* relitive相对于自己在流中的元素定位 */
/* relative一般用于位置微调,或者让absolute参考自己定位 */
#app section{
 position: relative;

}
.finish{
 position: absolute;
 background-color: limegreen;
 bottom: 8px;
 right: 4px;
}
#app ul{
 margin-top: 8px;
}
#app li{
 border-bottom: 1px solid #CCCCCC;
 margin-bottom: 8px;
}
.left{
 float: left;
}
.right{
 float: right;
}
/* 组合选择器 */

header span.right{
 font-size: 14px;
 padding-top:13px;
}
.btn_ground{
 height: 30px;
 margin-top: 4px;
}
.del{
 background-color: orangered;
 color: #FFFFFF;
}
.update{
 background-color: royalblue;
 color: #FFFFFF;
}
footer{
 color: #999;
 text-align: center;
 font-size: 12px;
}
js代码:
function getNowString(){
 var now=new Date()
 var arr=[\'日\',\'一\',\'二\',\'三\',\'四\',\'五\',\'六\']

 return now.toLocaleDateString()
  +\'星期\'
 +arr[now.getDay()]
}

var App = new Vue({
 el:\'#app\',
 data:{
 now:getNowString(),
 noteBooks:[
 {
 time:\'2019/6/17 星期一\',
 txt:\'今天天气不好\'
 },{
 time:\'2019/6/18 星期二\',
 txt:\'今天学习<i style=\"color:red\">Adidas\'
 }
 ],
 diary:\'\',
 index:\'-1\'
 },
 methods:{
 finished:function(){
 //!App.diary是考虑App.diary=null的情况
 if(!App.diary||0==App.diary.length)return

 if(-1==App.index){
 //存入noteBooks中
 //unshift插入到数组首位
 App.noteBooks.unshift({
  time:App.now,
  txt:App.diary
 })
 }else{
 //修改
 App.noteBooks[App.index]={
  time:App.now,
  txt:App.diary
 }
 App.index=-1
 }
 App.diary = \'\'
 App.now=getNowString()
 },
 del:function(i){
 // 删除 splice(起始下标,删除个数)
 App.noteBooks.splice(i,1)
 },
 upDate:function(i){
 var nb=App.noteBooks[i]
 App.diary=nb.txt
 App.now = nb.time
 //App.index 为-1表示新增,其他就是修改
 App.index=i
 }
 }
})
以上就是本文的全部内容,希望对大家的学习有所帮助,也希望大家多多支持。
© 版权声明
THE END


暂无评论内容