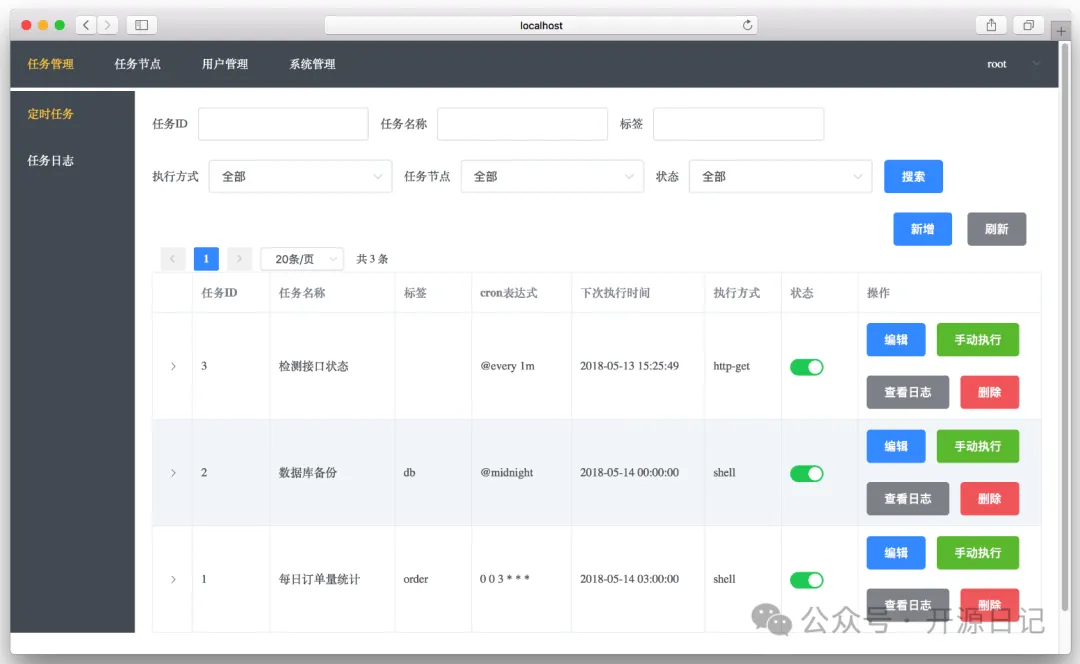
本文实例为大家分享了Vue.js实现分页查询的具体代码,供大家参考,具体内容如下
vue.js的使用如下:
1、引入vue.js
<script src=\"~/js/vue2.2.4.js\"></script>
a、分页条
<ul class=\"pagination\" id=\"pagination1\"></ul>
b、分页条js、css
<link href=\"~/css/page.css\" rel=\"stylesheet\" />
<script src=\"~/js/jqPaginator.js\"></script>
2、分页的方法
 public JsonResult GrtUserData(int page,int rows)
 {
 //top分页法 row_number分页
 TextEntities tes = new TextEntities();
 //分页查询
 List<Users> ulist = tes.Users.OrderBy(a=>a.Id).Skip((page-1)*rows).Take(rows).ToList();
 int allcount = tes.Users.Count(); //总页数
 int allpage = allcount / rows;
 if (allcount % rows !=0)

 allpage = allpage + 1;
 DTO_Page dp = new DTO_Page();
 dp.data = ulist;
 dp.allpage = allpage;
 return Json(dp, JsonRequestBehavior.AllowGet);
 }
3、封装page方法
public class DTO_Page
 {
 public int rows { get; set; }
 public int allpage { get; set; }
 public List<Users> data { get; set; }
 }
4、定义获取总页数的方法
 public JsonResult GetAllpage(int rows)
 {
 TextEntities tes = new TextEntities();
 int allcount = tes.Users.Count(); //总页数
 int allpage = allcount / rows;
 if (allcount % rows != 0)
 allpage = allpage + 1;
 return Json(allpage);

 }
5、前台分页方法,获取后台的数据,实现分页的动态性
<script>
 //封装一个查询后台的方法
 var getdata = function (page, rows,vm) {
 $.ajax({
 url: \'/home/GrtUserData\',
 type: \'get\',
 data: { page: page, rows: rows },
 success: function (dto_page) {
 vm.mydata = dto_page.data;
 $.jqPaginator(\'#pagination1\', {
  totalPages: dto_page.allpage,
  visiblePages: 5,
  currentPage: page,
  onPageChange: function (num, type) {
  //怎么把第一次忽略
  if (type != \"init\") {
  //更新查询后的页面
  getdata(num, 5,vm);
  }
  }
 });
 }
 });
 }

 $(function () {
 //给更新div添加数据
 var update_vm = new Vue({
 el: \"#updatecontent\",
 data: {
 userinfo: {}
 }
 })

 //实例化 vue.js (用来给表格提供数据的) 只实例化一次
 var vm = new Vue({
 el: \'#content\',
 data: {
 mydata: []
 },
 methods: {
 butdelete: function (_id) //删除
 {
  $.post(\'/home/BatchDelete\', { ids: _id }, function (result) {
  if (result > 0) {
  location.href = \"/home/UserMan\";
  }
  else {
  alert(\"删除失败\");
  }
  });
 },
 butupdate: function (item, event) //更新
 {
  //使用jquery打开编辑状态
  //$(event.target).parent().parent().find(\"td:gt(0):lt(4)\").each(function (index,item) {
  // $(item).html(\"<input type=\'text\' style=\'width:50px\' value=\" + $(item).html() + \">\");
  //});

  //复制对象
  // var databack = $.extend({},item);
  update_vm.$data.userinfo = item;
  layer.open({
  type: 1,
  area: [\"300px\", \"230px\"],
  title: \"更新\",
  content: $(\"#updatecontent\"),
  btn: [\"保存\"],
  yes: function (index) {
  $.post(\'/home/Update\', update_vm.$data.userinfo, function (result) {
  //可以把vue.js数据替换把更新后到页面
  // vm.$data.mydata.splice(1, 1, update_vm.$data.userinfo);
  });
  },
  cancel: function () //点击关闭按钮
  {
  // alert(databack.UserName);
  // console.log(databack);
  }
  });
 }
 }
 });

 //默认第一个请求
 getdata(2,5,vm);
 $(\"#deletebut\").click(function () {
 //存放需要批量删除的id
 var ids = \"\";
 $(\".mytable input[type=\'checkbox\']:checked\").each(function (index, item) {
 ids += $(item).val() + \",\";
 });
 $.post(\'/home/BatchDelete\', { ids: ids }, function (result) {
 if (result > 0) {
  location.href = \"/home/UserMan\";
 }
 else {
  alert(\"删除失败\");
 }
 });
 });
 });
</script>
关于vue.js的学习教程,请大家点击专题vue.js组件学习教程、Vue.js前端组件学习教程进行学习。
以上就是本文的全部内容,希望对大家的学习有所帮助,也希望大家多多支持。
© 版权声明
THE END


暂无评论内容