前言
前阵子发现了个有意思又好用的框架——okHttp。由于课程设计需要,无意间发现了这个框架,打算利用此框架与后端交互,可以参考前后端分离的项目,把android当做前端,springboot当做后端,以下是二者的简单交互。
okHttp说明
(1)android网络框架之OKhttp
一个处理网络请求的开源项目,是安卓端最火热的轻量级框架,由移动支付Square公司贡献(该公司还贡献了Picasso)
用于替代HttpUrlConnection和Apache HttpClient
(2)okHttp优势
允许连接到同一个主机地址的所有请求,提高请求效率
共享Socket,减少对服务器的请求次数
通过连接池,减少了请求延迟
缓存响应数据来减少重复的网络请求
减少了对数据流量的消耗
自动处理GZip压缩
(3)OKhttp的功能
get,post请求
文件的上传下载
加载图片(内部会图片大小自动压缩)
支持请求回调,直接返回对象、对象集合
支持session的保持
android前端
逻辑控制:LoginActivity.java
import androidx.appcompat.app.AppCompatActivity;

import android.os.Bundle;
import android.util.Log;
import android.view.View;
import android.widget.Button;
import android.widget.EditText;
import android.widget.TextView;

import com.campus.book.R;
import com.campus.book.entity.User;
import com.campus.book.util.http.OKHttpUtil;
import com.google.gson.Gson;

public class LoginActivity extends AppCompatActivity {
//这个url可以通过cmd中输入    ipconfig   IPv4 地址即为本地电脑的地址   8081为后端的端口号
    private String baseUrl=\"http://192.168.xxx.1:8081\";

    private TextView tv=null;
    EditText userId = null;
    EditText pwd = null ;
    Button login=null;
    private Button registry=null;
    @Override
    protected void onCreate(Bundle savedInstanceState) {
        super.onCreate(savedInstanceState);
        setContentView(R.layout.activity_login);

        setTitle(\"登录\");
        tv=findViewById(R.id.tv);
        login = (Button)findViewById(R.id.login);
        registry = (Button)findViewById(R.id.registry);
        userId=(EditText) findViewById(R.id.userId);
        pwd=findViewById(R.id.pwd);
        login.setOnClickListener(new View.OnClickListener() {
            @Override
            public void onClick(View view) {

                String id = userId.getText().toString();
                String password=pwd.getText().toString();
                User user=new User(id,password);
                Gson gson=new Gson();
                String json=gson.toJson(user);
                String args[]=new String[]{\"user\",\"login\"};
                String res= OKHttpUtil.postSyncRequest(baseUrl,json,args);
                Log.d(\"同步:\",res);
                res= OKHttpUtil.postAsyncRequest(baseUrl,json,args);
                Log.d(\"异步:\",res);
            }
        });

        registry.setOnClickListener(new View.OnClickListener() {
            @Override
            public void onClick(View view) {

                String args[]=new String[]{\"user\",\"getUser\",\"123\"};
                String res= OKHttpUtil.getSyncRequest(baseUrl,args);
                System.out.println(\"同步:\"+res);

                String args1[]=new String[]{\"user\",\"getUser\",\"123\"};
                 res= OKHttpUtil.getAsyncRequest(baseUrl,args1);
                System.out.println(\"异步:\"+res);

            }
        });
    }
}
布局方式:activity_login.xml
<?xml version=\"1.0\" encoding=\"utf-8\"?>
<LinearLayout xmlns:android=\"http://schemas.android.com/apk/res/android\"
    xmlns:app=\"http://schemas.android.com/apk/res-auto\"
    xmlns:tools=\"http://schemas.android.com/tools\"
    android:orientation=\"vertical\"
    android:layout_width=\"match_parent\"
    android:layout_height=\"match_parent\"
    tools:context=\".activity.LoginActivity\">
<TextView
    android:layout_width=\"match_parent\"
    android:layout_height=\"wrap_content\"
    android:id=\"@+id/tv\"
    android:text=\"内容:\"/>
    <FrameLayout
        android:layout_width=\"wrap_content\"
        android:layout_height=\"wrap_content\">

        <ImageView
            android:id=\"@+id/mainBg\"
            android:layout_width=\"wrap_content\"
            android:layout_height=\"wrap_content\"
            android:background=\"@drawable/login\" />
<!--@drawable/login改成相应的背景图-->
        <TableLayout
            android:layout_width=\"350dp\"
            android:layout_height=\"match_parent\"
            android:stretchColumns=\"*\"
            android:layout_marginBottom=\"150sp\"
            android:layout_gravity=\"center\" >

            <TableRow android:layout_height=\"match_parent\">
                <EditText
                    android:id=\"@+id/userId\"
                    android:layout_column=\"0\"
                    android:layout_span=\"2\"
                    android:hint=\"请输入手机号\"
                    android:textColorHint=\"#FFFFFF\"
                    android:textColor=\"#FFFFFF\"
                    android:textCursorDrawable=\"@drawable/cursor_color\"
                    android:textSize=\"15sp\" />
            </TableRow>

            <TableRow android:layout_height=\"match_parent\" >
                <EditText
                    android:id=\"@+id/pwd\"
                    android:inputType=\"textPassword\"
                    android:layout_column=\"0\"
                    android:layout_span=\"2\"
                    android:hint=\"请输入密码\"
                    android:textColorHint=\"#FFFFFF\"
                    android:textColor=\"#FFFFFF\"
                    android:textCursorDrawable=\"@drawable/cursor_color\"
                    android:textSize=\"15sp\" />
            </TableRow>

            <TableRow android:layout_height=\"match_parent\">
                <Button
                    android:id=\"@+id/login\"
                    android:layout_height=\"wrap_content\"
                    android:textColor=\"#FFFFFF\"
                    android:background=\"#000000\"
                    android:layout_margin=\"8dp\"
                    android:textSize=\"15sp\"
                    android:text=\"登录\" />
                <Button
                    android:id=\"@+id/registry\"
                    android:layout_width=\"wrap_content\"
                    android:layout_height=\"wrap_content\"
                    android:textColor=\"#FFFFFF\"
                    android:background=\"#000000\"
                    android:layout_margin=\"8dp\"
                    android:textSize=\"15sp\"
                    android:text=\"注册\" />
            </TableRow>

        </TableLayout>

    </FrameLayout>

</LinearLayout>
其中,cursor_color.xml在drawable中。
<?xml version=\"1.0\" encoding=\"utf-8\"?>
<shape
    xmlns:android=\"http://schemas.android.com/apk/res/android\"
    android:shape=\"rectangle\" >
    <size android:width=\"2dp\" />
    <solid android:color=\"@android:color/black\" />
</shape>
springboot+mysql后端
(1)数据库
表user

(2)springboot中的controller层
如何搭建springboot工程就不再赘述了(如有需要,可留言,后续可发搭建教程),可自行参考其他文章。
@RestController
@RequestMapping(\"//user\")
public class UserController {
	@Autowired
	private UserService userService;

	//Gson gson= JsonBean.getGson();
    static Gson gson=new GsonBuilder().serializeNulls().create();
	@GetMapping(\"/list\")
	public List<User> list() {
		return this.userService.list();
	}

	@PostMapping(\"/login\")
	public User login(String json){
		User result=null;
		User user=null;
		User user1=null;
		try{
			user=gson.fromJson(json,User.class);
		}catch (Exception e){
			e.printStackTrace();
		}
		user1=userService.getById(user.getUserId());
		if(user1!=null){//存在该账户
			if(user1.getPassword().equals(user.getPassword())){//密码正确
				result=user1;
			}else{//密码错误

			}
		}else{//不存在该账户

		}
		return result;
	}

	@GetMapping(\"/getUser/{id}\")
	public User getUser(@PathVariable(\"id\") Serializable id){
		User user=userService.getById(id);
		if(user!=null){//存在

		}else{//不存在

		}
		return user;
	}
}
运行(交互)效果
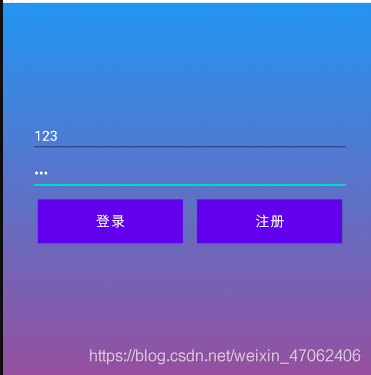
(1)点击“登录”按钮,发起post请求
android端
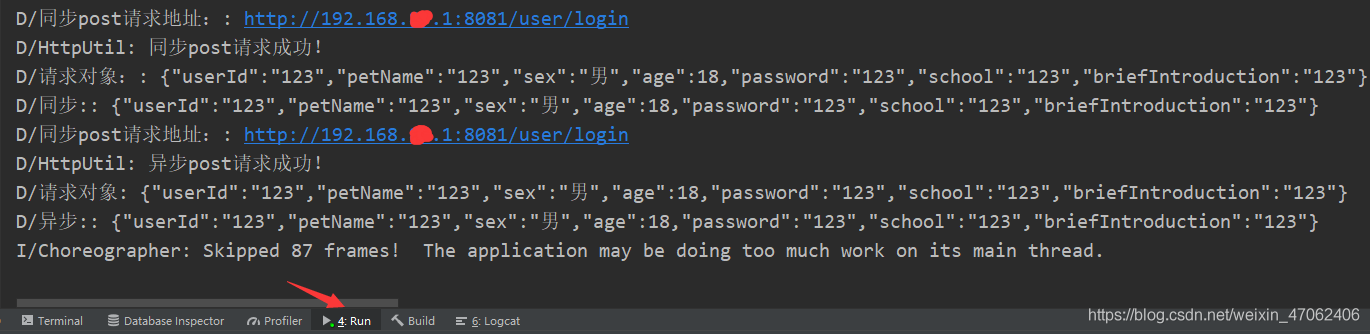
后端
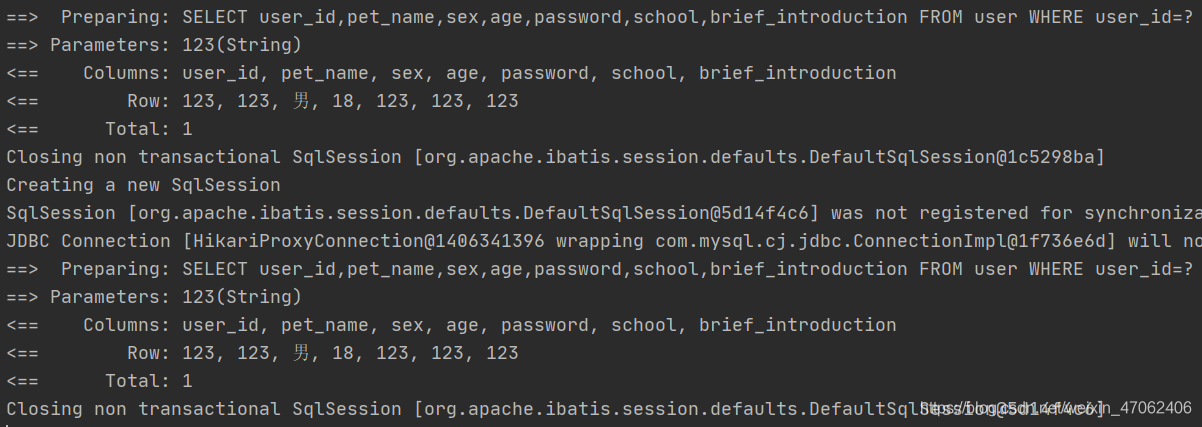
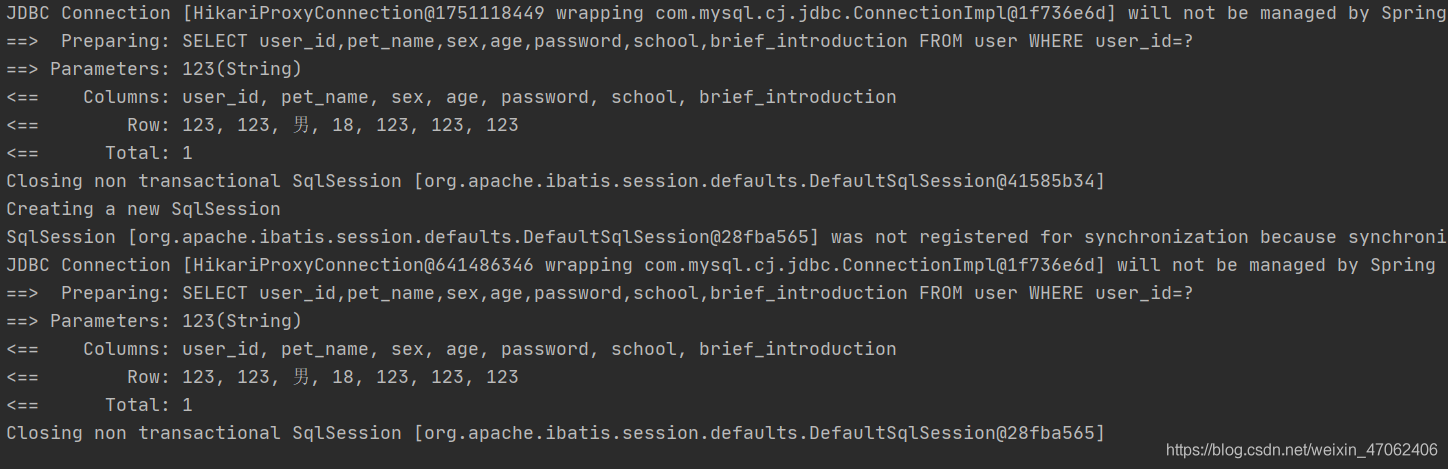
(2)点击“注册”按钮发起get请求
android端

后端
这样就达到了前后端分离的效果,是不是很神奇!可以愉快的和小组成员分开进行开发啦!
在Android端中用到了个人结合需要编写的okHttp的工具类,可参考上篇文章:okHttp的get和post请求的简单封装与使用
到此这篇关于Android的简单前后端交互(okHttp+springboot+mysql)的文章就介绍到这了,更多相关Android 前后端交互内容请搜索自学编程网以前的文章或继续浏览下面的相关文章希望大家以后多多支持自学编程网!